【Wordのスクショ機能】Googleマップなどネットの地図を文書に貼り付ける方法
 おかっぱちゃん
インターネットの地図をWordに貼り付けることはできますか?
Googleマップなど、インターネットで表示した地図をワードに貼り付けたいときは、ワードのスクリーンショット機能を使うと簡単です。
ワードのスクリーンショット機能は、開いている地図をそのまま画像として挿入することができます。
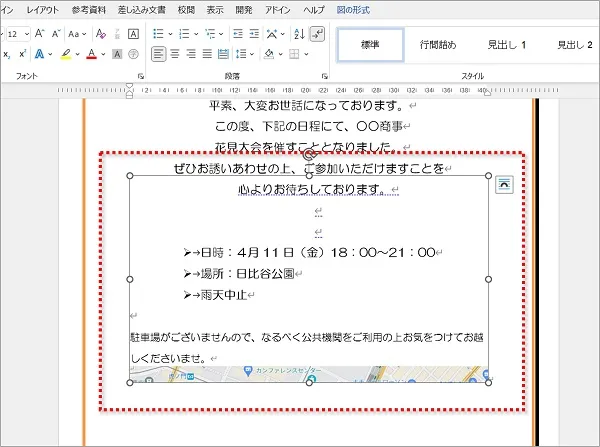
案内文やポスター・チラシなど、地図を掲載したい文書のときに便利!
そこで今回は、ワードのスクリーンショットの機能を使ってGoogleマップなどネットの地図を文書に貼り付ける方法を紹介します。
Googleマップなどネットの地図を文書に貼り付ける方法
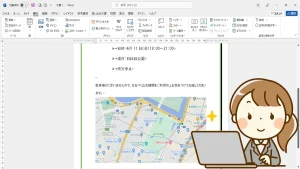
Googleマップなど、インターネットの地図をワードに貼り付けるには、最初にインターネットで貼り付けたい地図を表示しておき、続いて【挿入】タブの【スクリーンショット】機能を使い文書に貼り付けます。
以下の手順でワード文書に地図を貼り付けます。
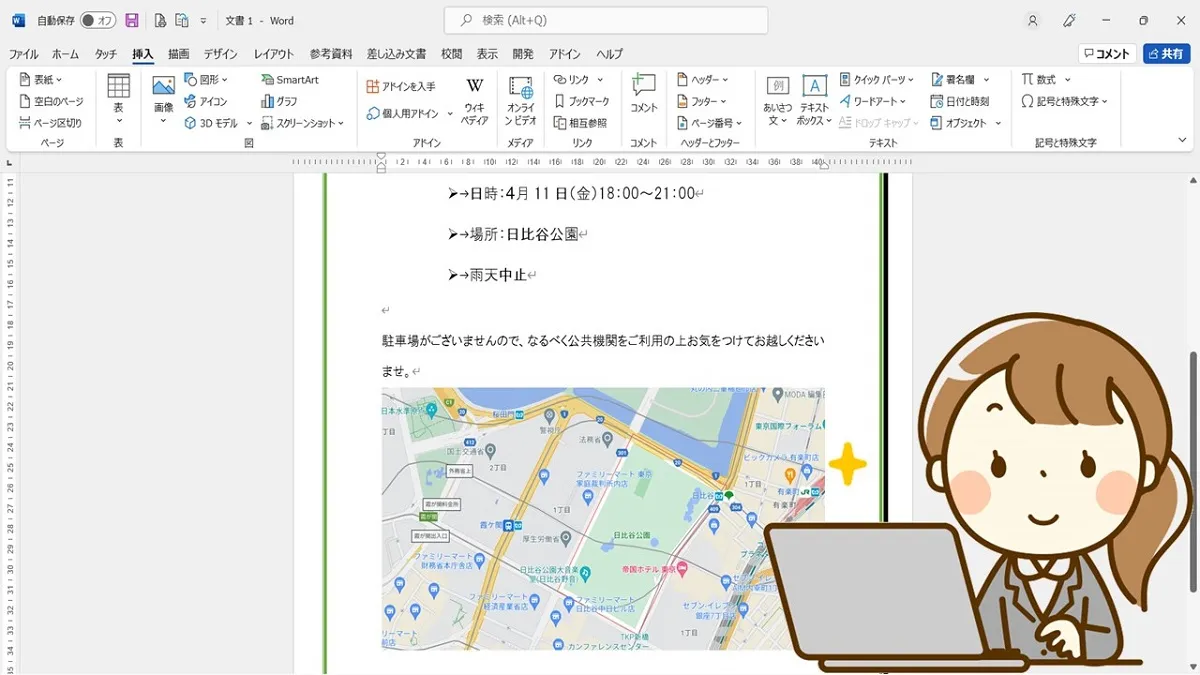
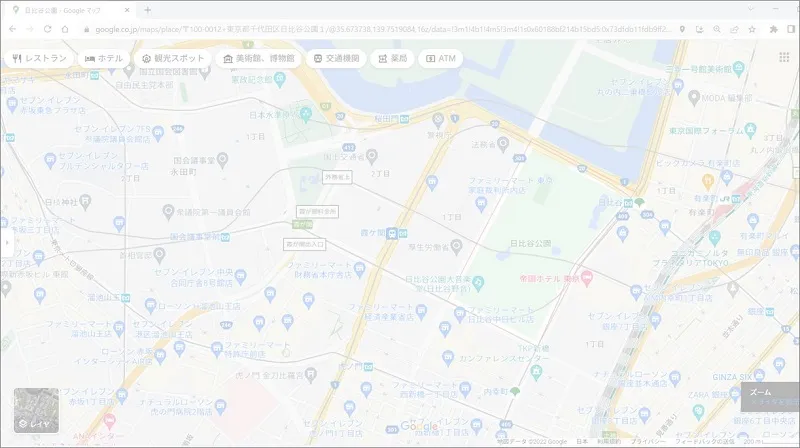
➀インターネット上で地図を表示しておきます。
②ワードの地図を貼り付けたい場所をクリックします。
③「挿入」タブ⇒「スクリーンショット」⇒「画面の領域」の順にクリックします。
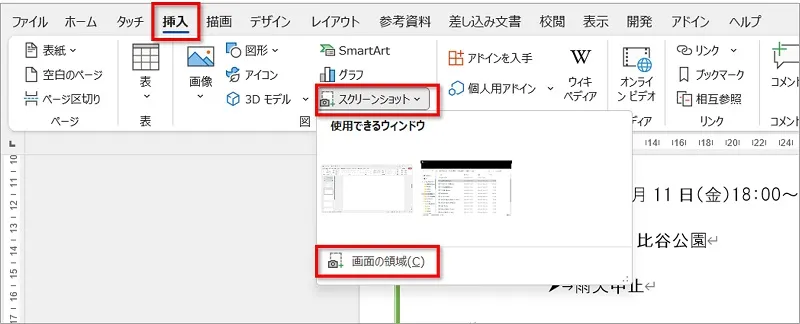
④地図が白く表示されます。
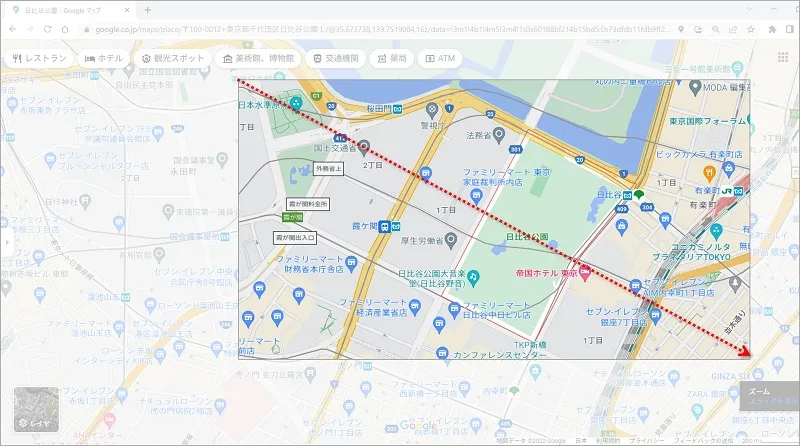
⑤ワードに貼り付けたい部分をドラッグで選択します。
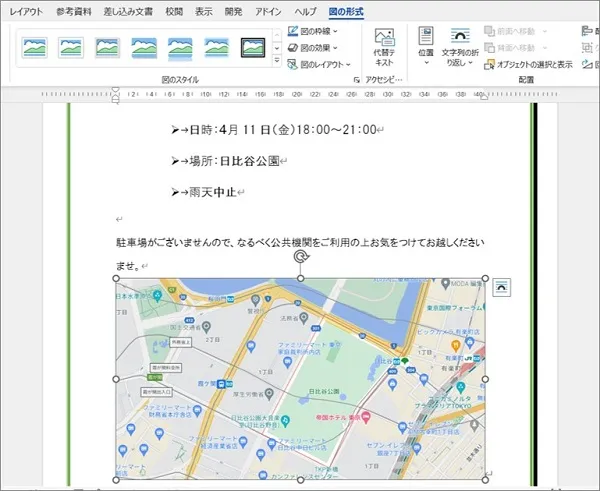
⑥選択した部分がワードに貼り付きます。
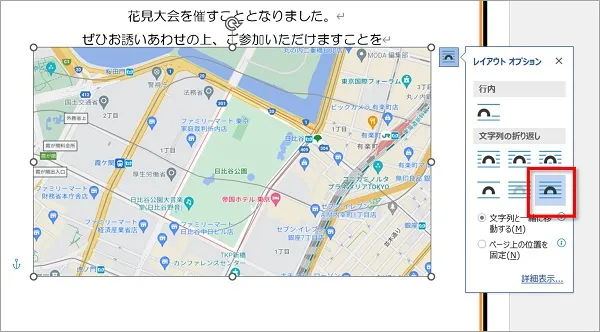
地図がうまく貼り付かない!
例えば、
・現在利用しているOfficeのバージョンがWord2021
・地図を貼り付けたいバージョンがWord2010
などのような場合、挿入したい場所にうまく貼り付かないことがあります。
このようなときは、「レイアウトオプション」を開き

「前面」にするなど、「行内」以外をクリックして好きな位置に移動させましょう。
おわりに
ワードのスクリーンショットの機能を使ってGoogleマップなどネットの地図を文書に貼り付ける方法を紹介してきました。
学校に提出する地図など、仕事以外でも活躍することができる機能かと思います。
挿入した地図は、画像と同じであとからサイズや位置を変更することも可能です。
便利な機能なのでぜひ活用してみてくださいね!